SITE FEATURES
SPONSORS

FRIENDS


LATEST NEWS
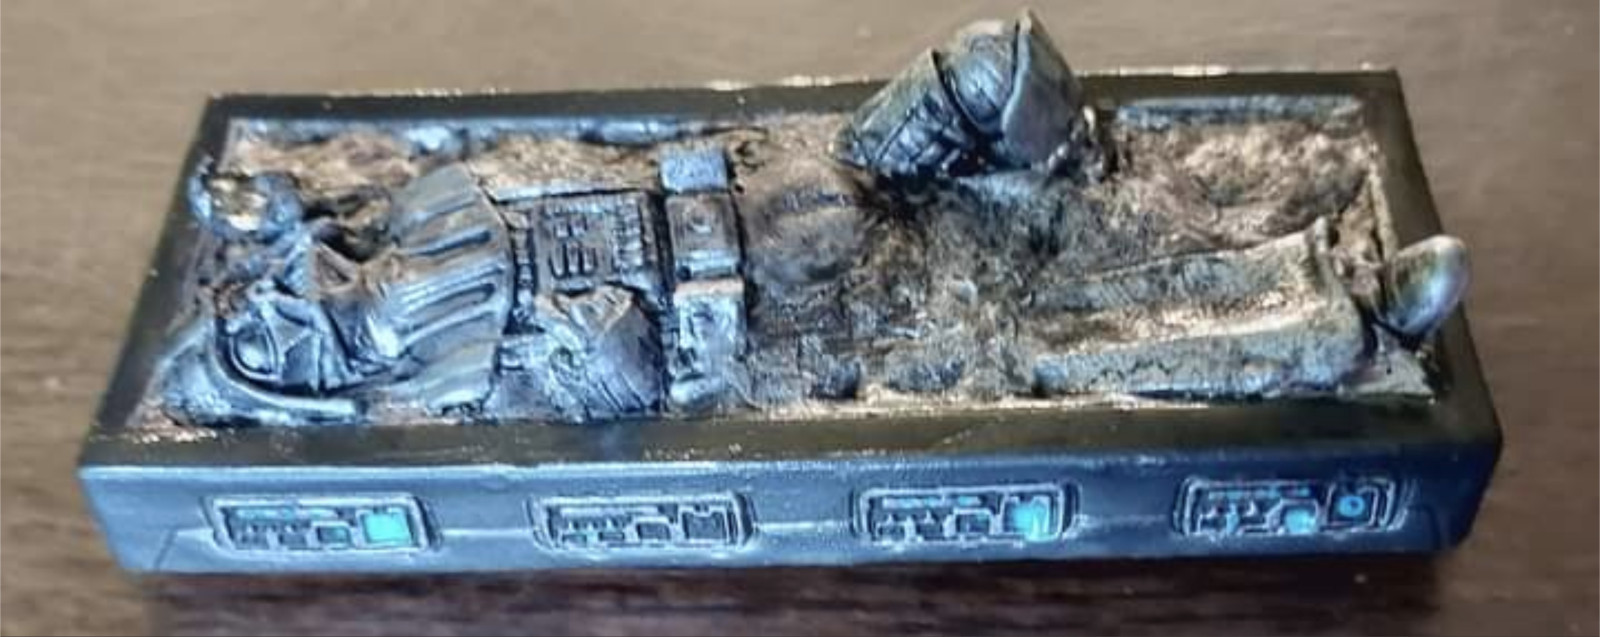
My Custom Darth Vader In Carbonite By Ben M.
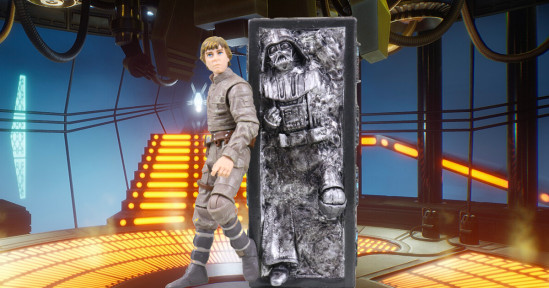
I've been meaning to feature this custom Darth Vader in Carbonite for quite some time. It was gifted to me by Twitter follower Ben M., who many of you in the community may know. It was one of the many articles on my mental "to do" list that I completely forget about come 7 o'clock when it's time to write the next day's content. Well, today I had to remember because Mr. Stevie will be at Red Five Toys and Collectibles in East Longmeadow, MA this Saturday:
Now, you're probably wondering what one has to do with the other. Well first, I will naturally be attending the event with Mr. Miko. Second, Red Five Toys and Collectibles is Ben's goto toy store (and for good reason). Since we'll both likely be there, I wanted to make sure I posted this long overdue thank you in advance.
The following is Ben's outline of the process. More pictures will follow:
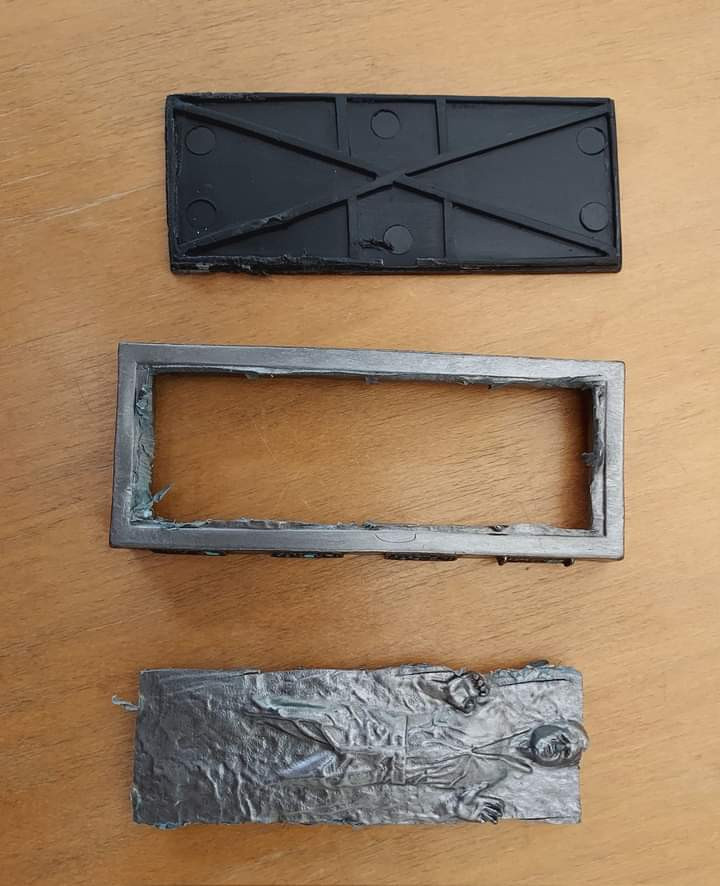
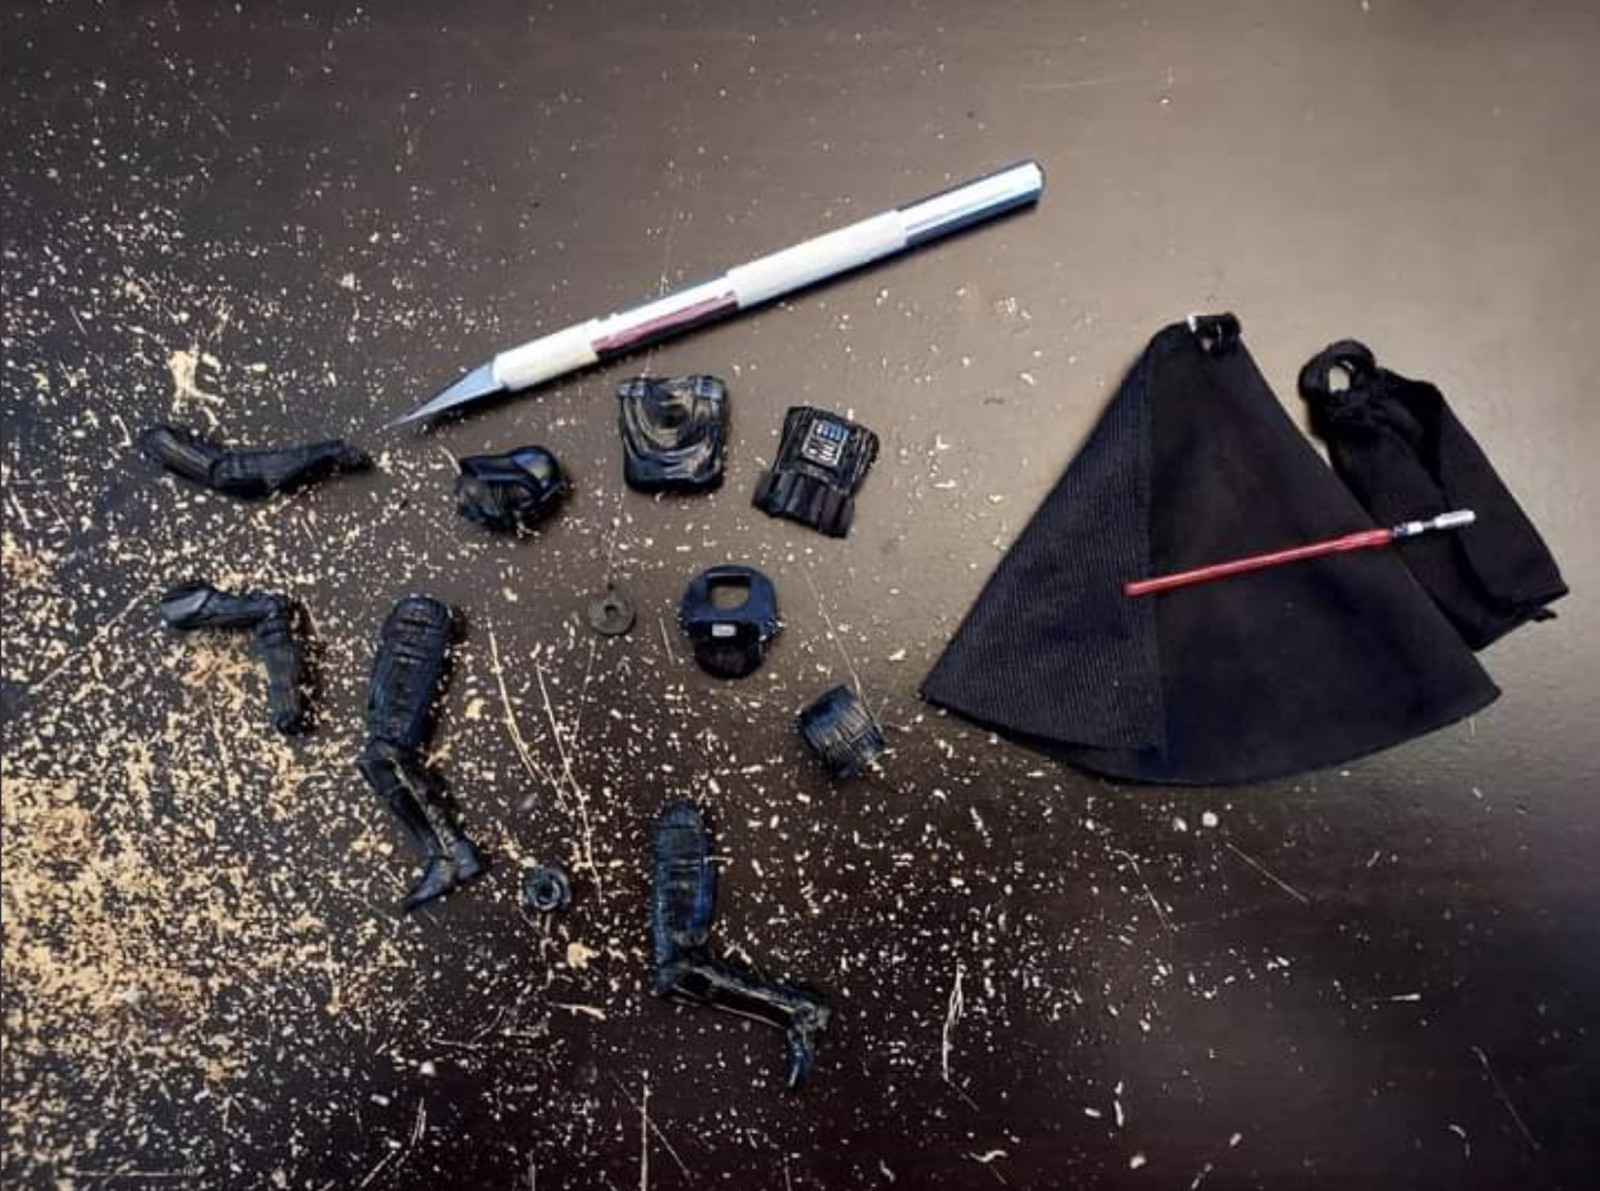
1) Get a carbonite block and a target figure. Modern TVC blocks are ideal because they're hollow so easy to trim. The 3.75 black series one looks almost the same but is much thicker plastic and has a lot of internal struts.
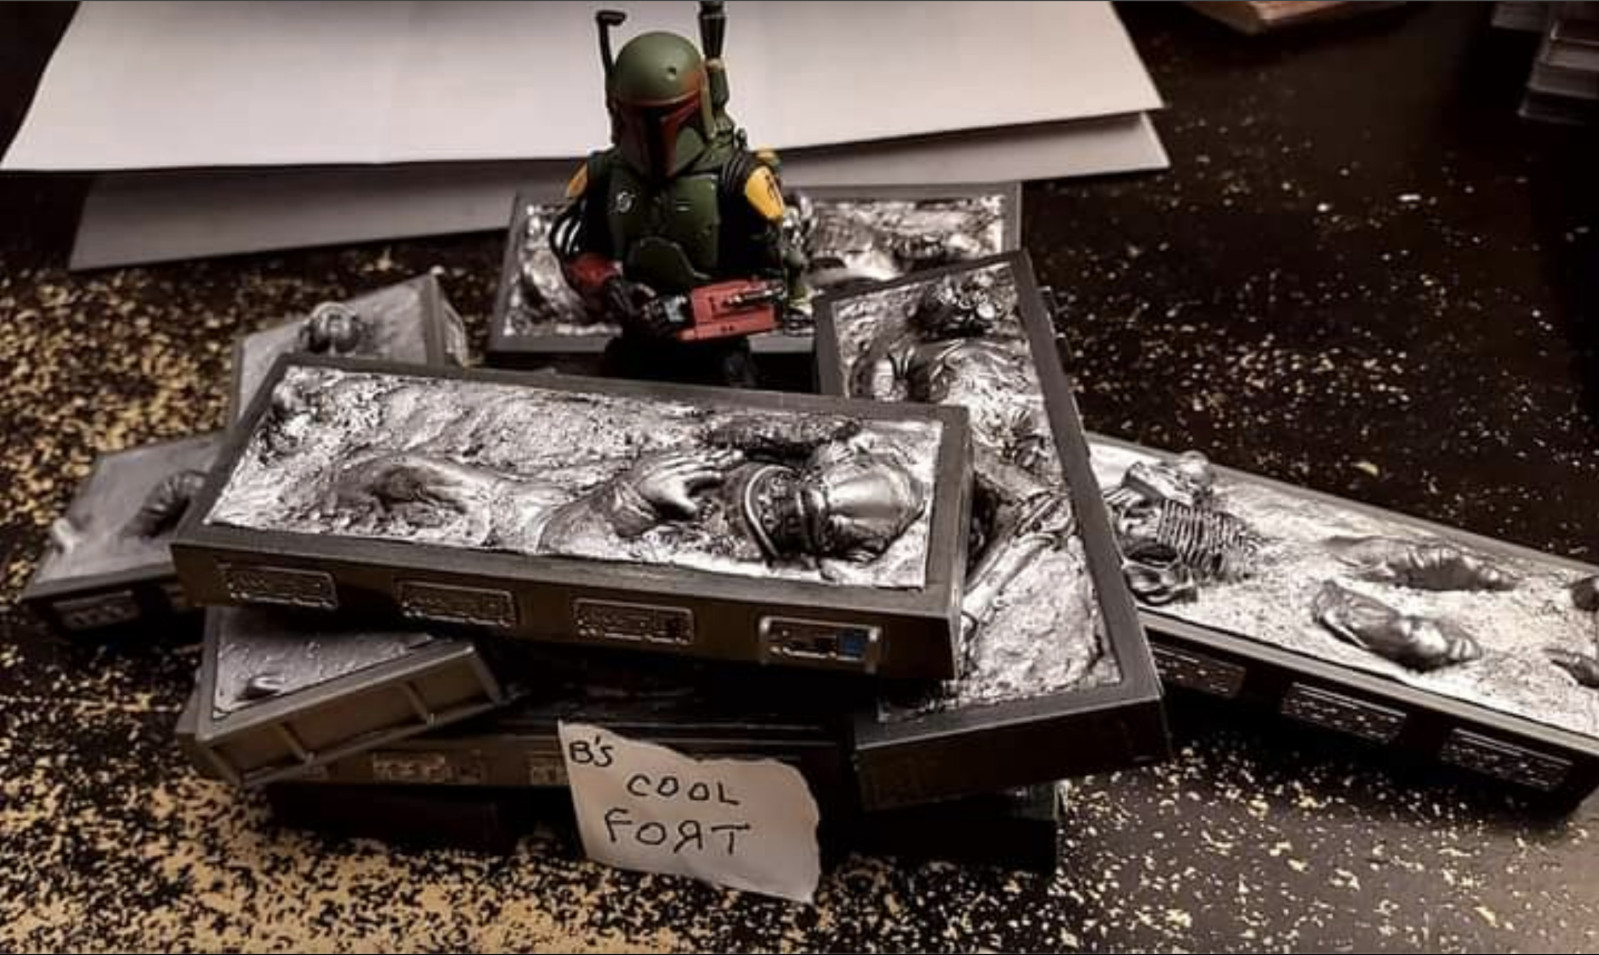
2) Cut out Han. If doing two, save Hans to give to wife as earrings.
(click for the full sized image)
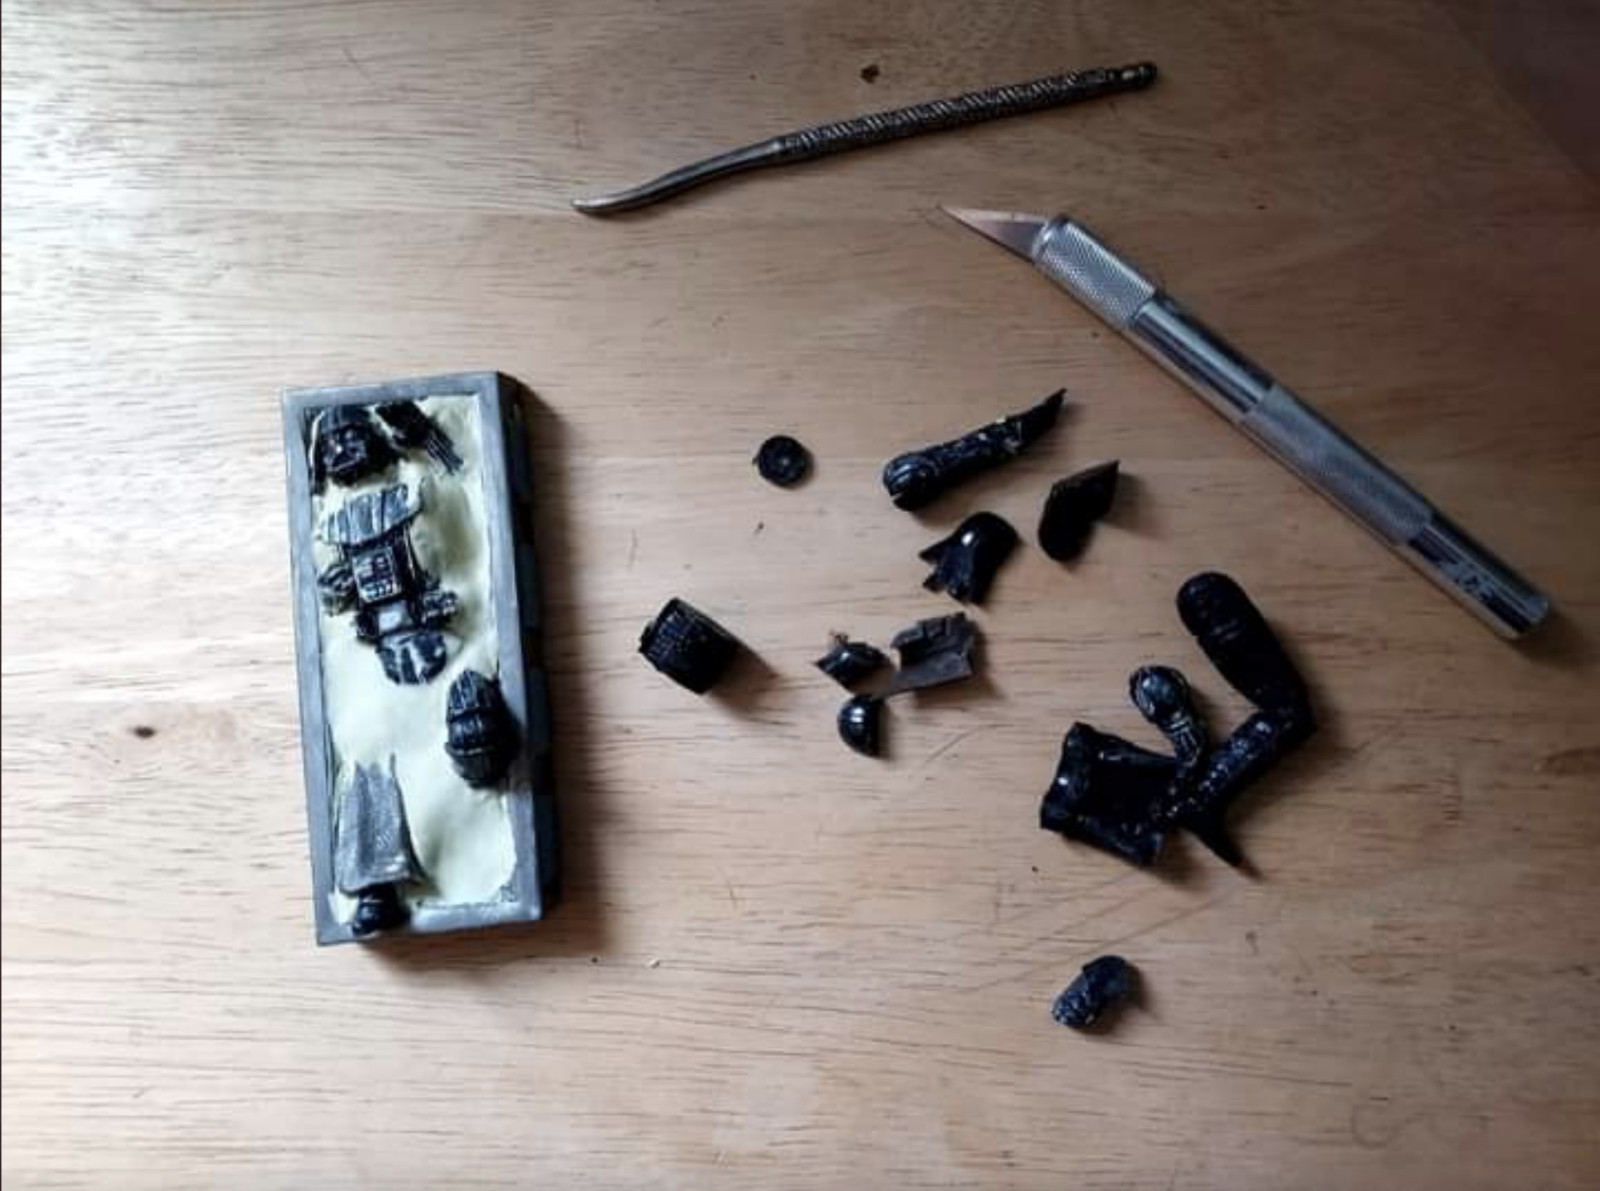
3) Nothing can actually fit as is into those blocks. They're way too small and thin. If you try to just plop a figure into the block, chances are it'll look pretty dopey.
4) You'll need less than half of the original figure, sometimes much less. I usually separate legs, arms, head, and torso, and then we start trimming material away to get positions that will look believable emerging from the top.
(click for the full sized image)
5) Loosely arrange how you think you might want it to look, and then start packing in two-part epoxy putty around it, in all the areas where liquid would flow, and blend it onto the figure itself. Sometimes you'll need to fill joints with epoxy if you don't want them to show, and sometimes you may need to roughly recreate body parts in epoxy that are "just under" the carbonite if the original parts won't work.
(click for the full sized image)
6) Texture the expoy. Dopey as it sounds, I have a small rock that does a great job at giving the right texture when pressed into the epoxy.
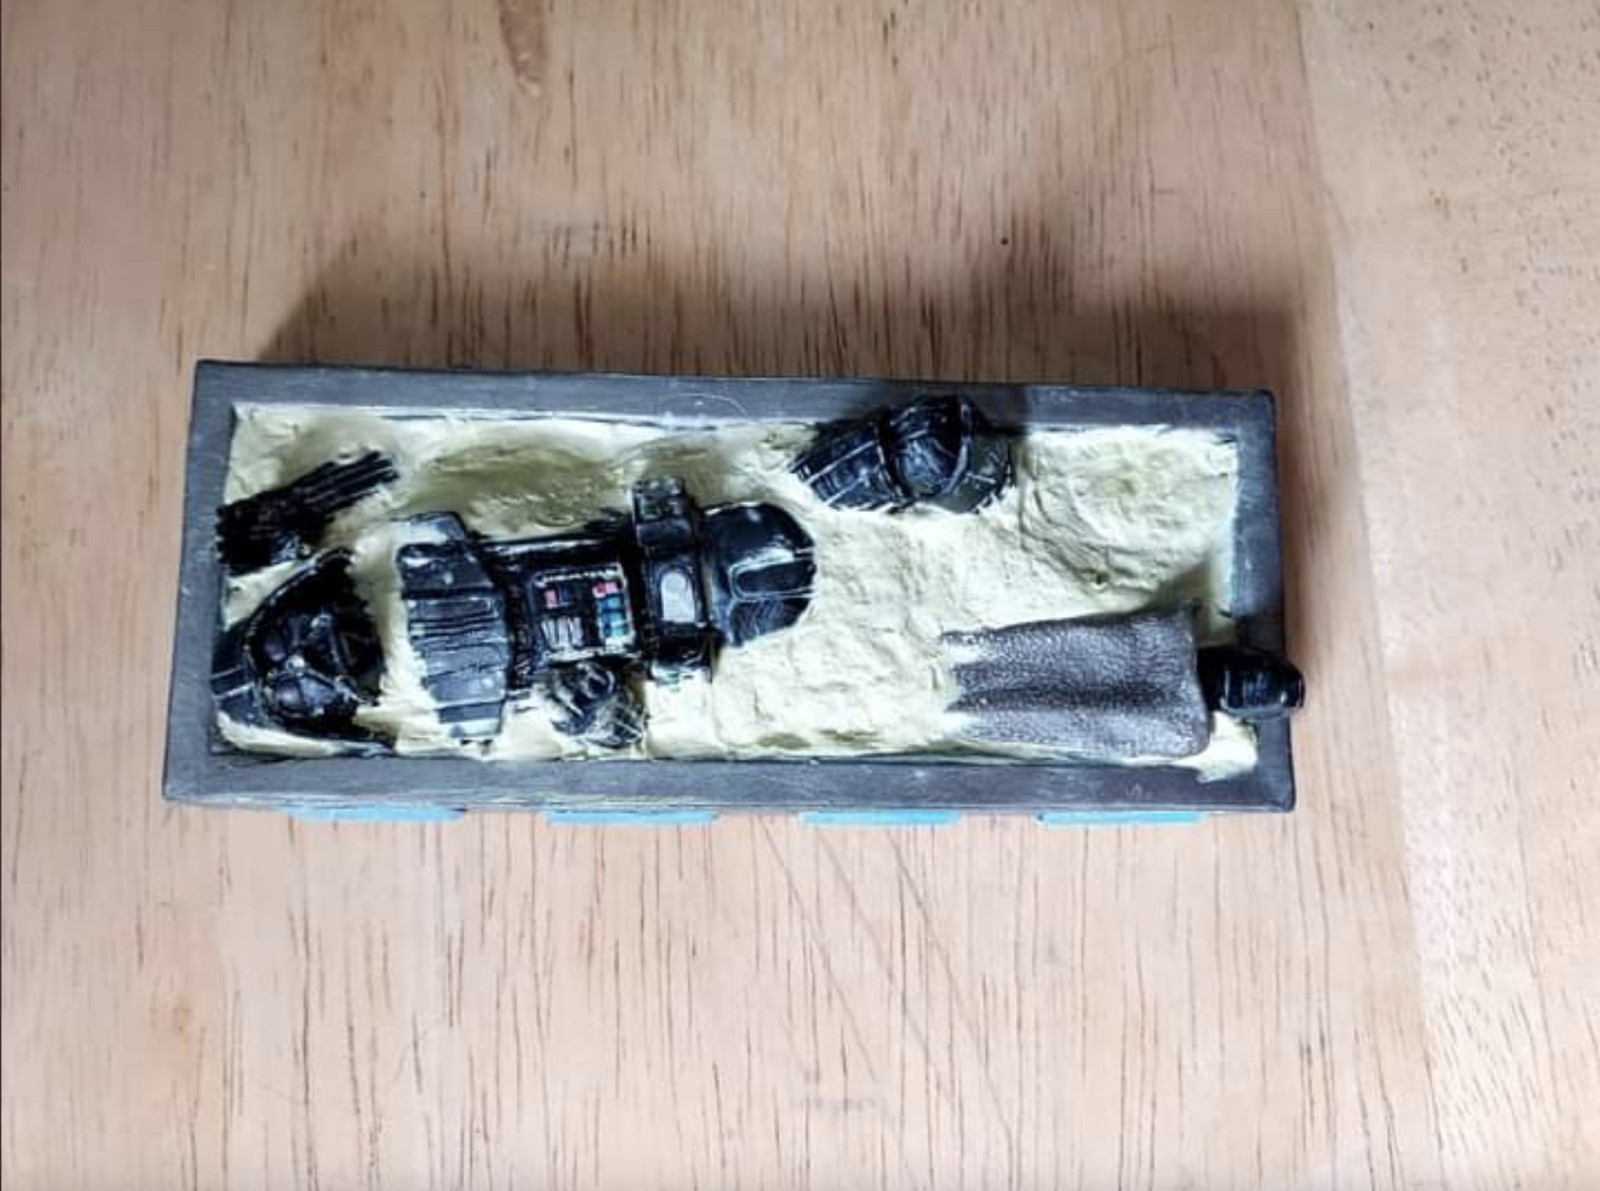
(click for the full sized image)
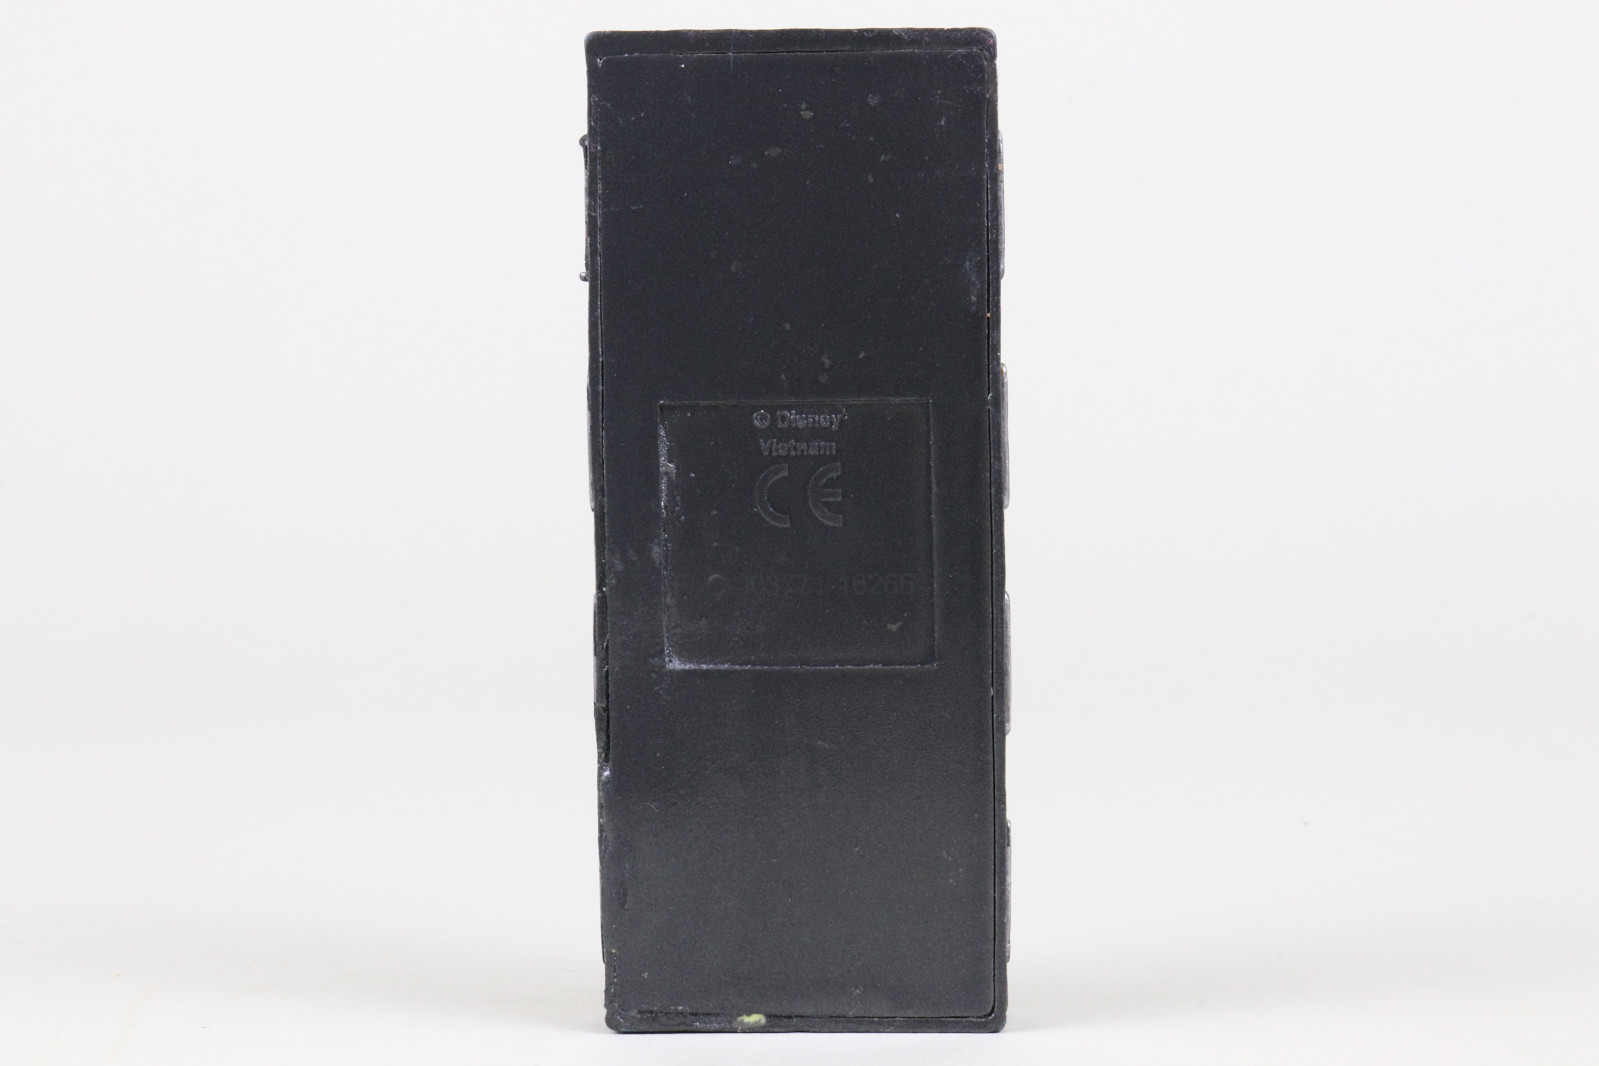
7) Mask the side controls and spray paint the whole thing Grey.
(click for the full sized image)
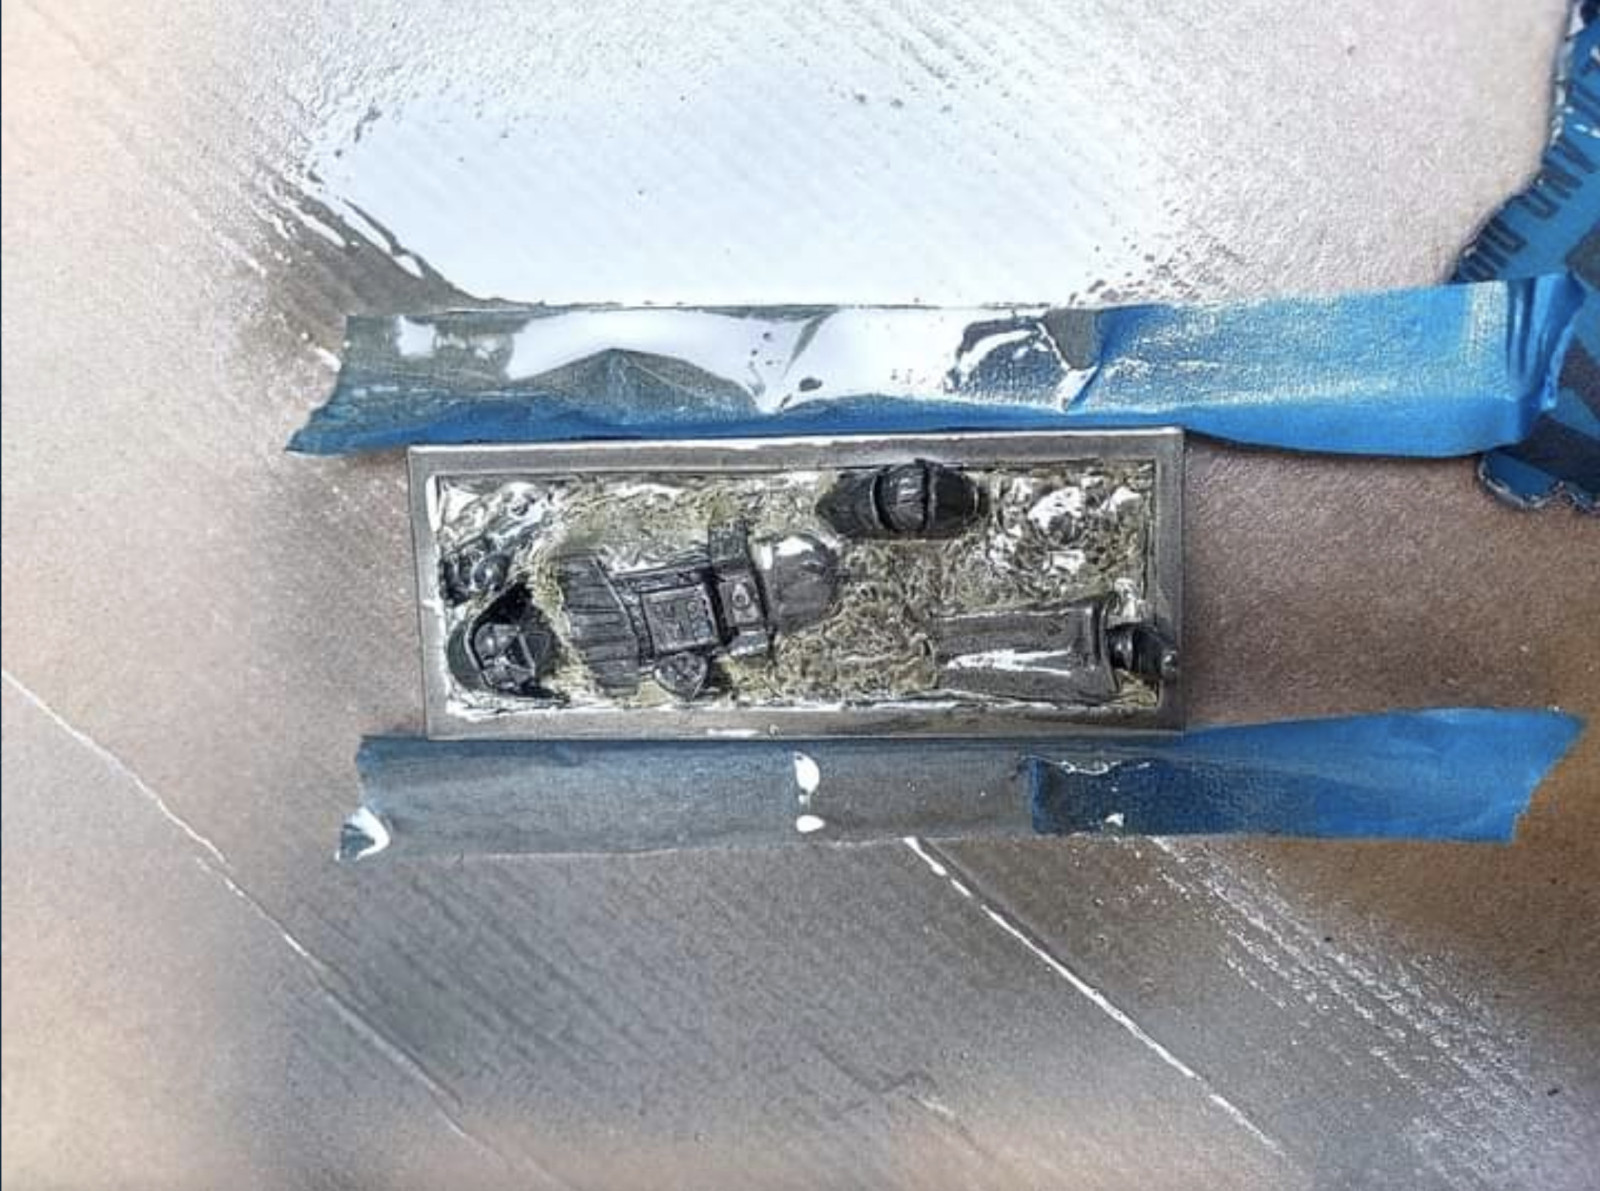
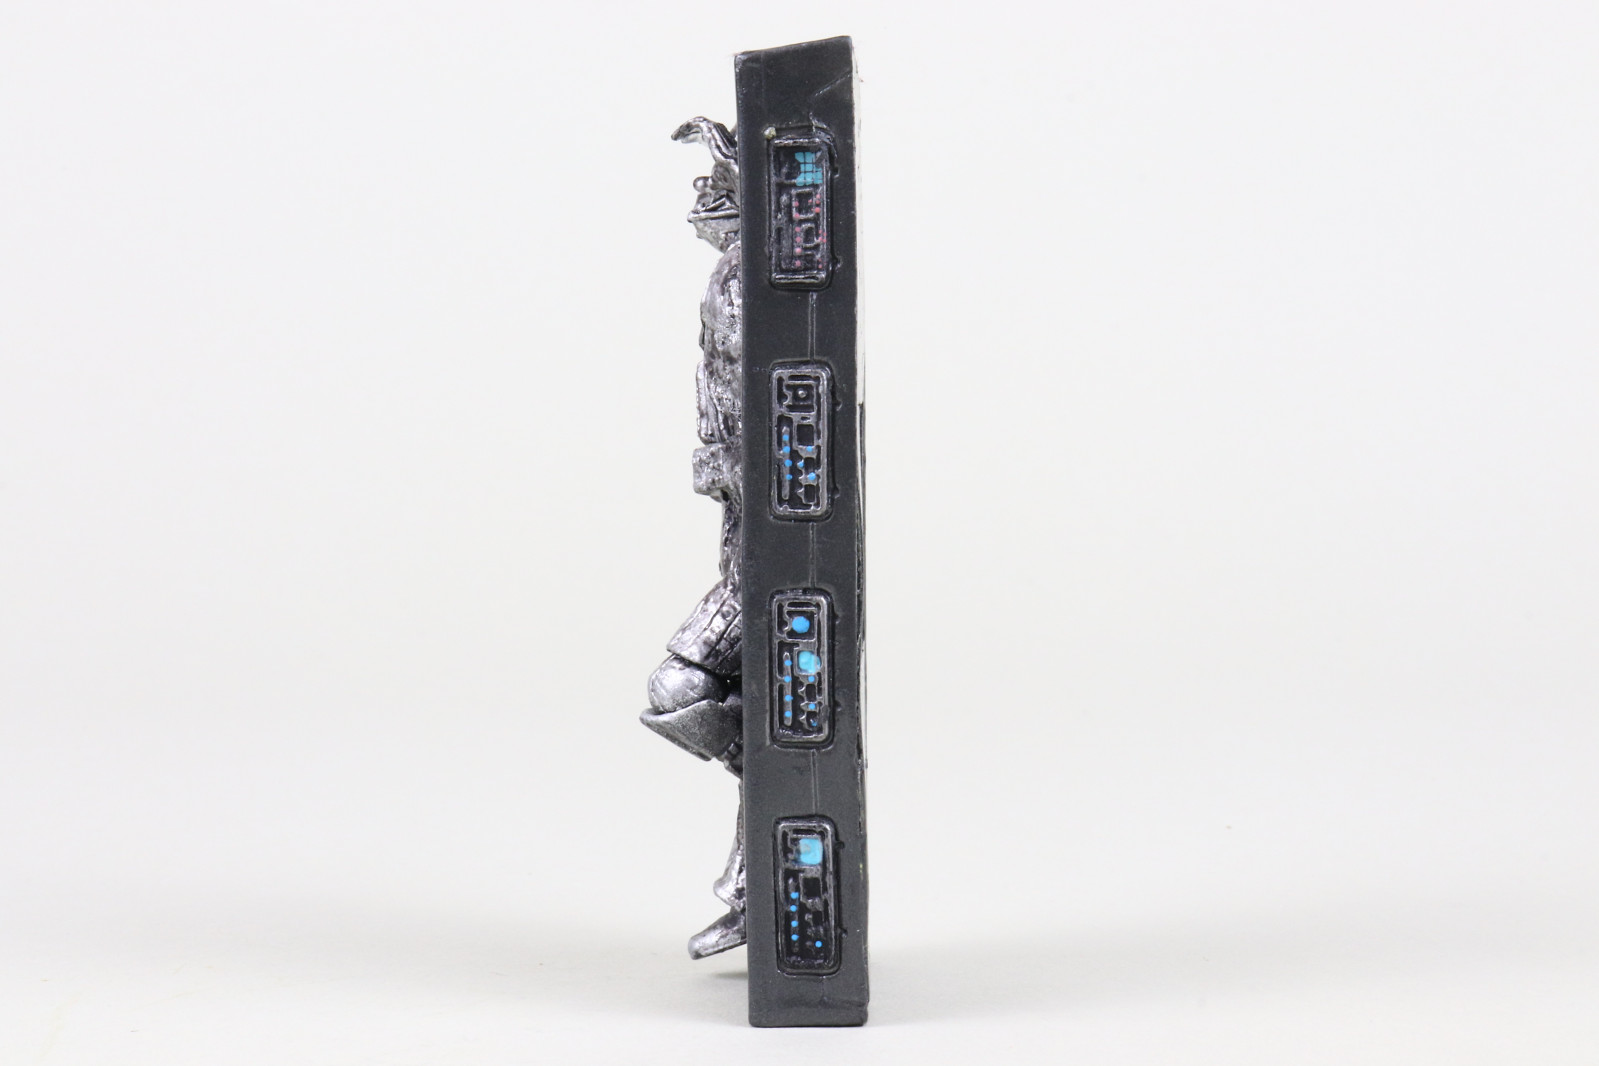
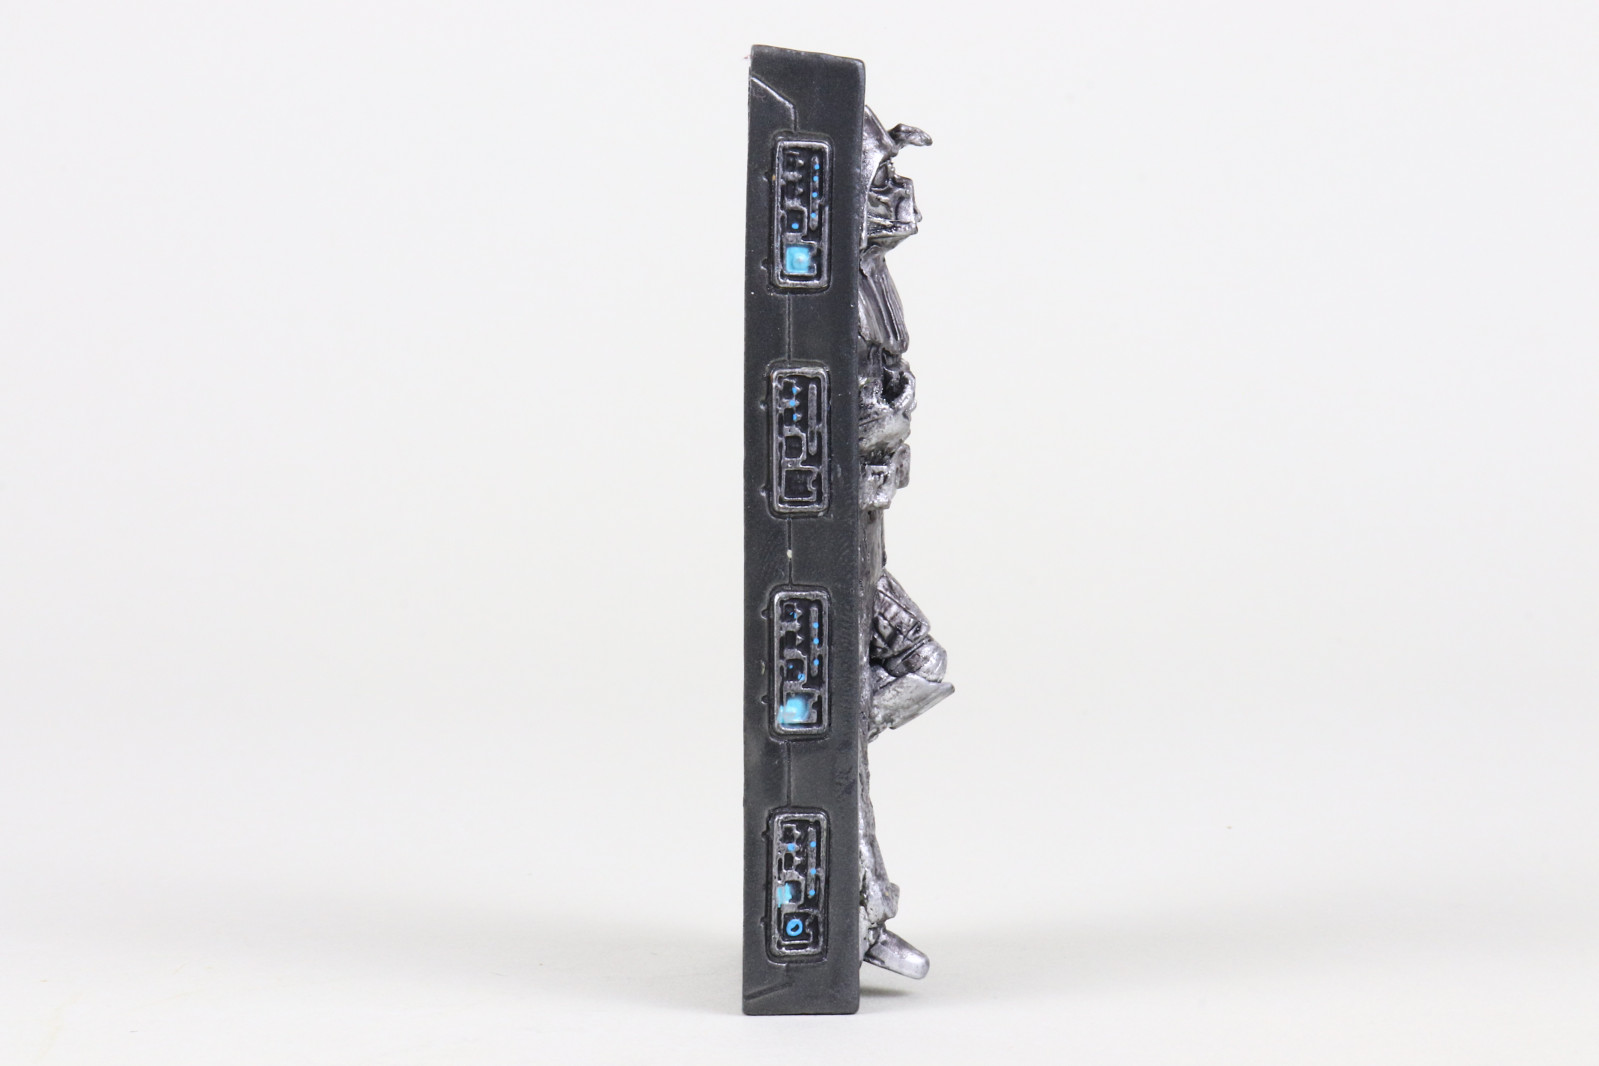
8) Mask everything but the carbonite and spray paint metallic silver.
9) Weather
(click for the full sized image)
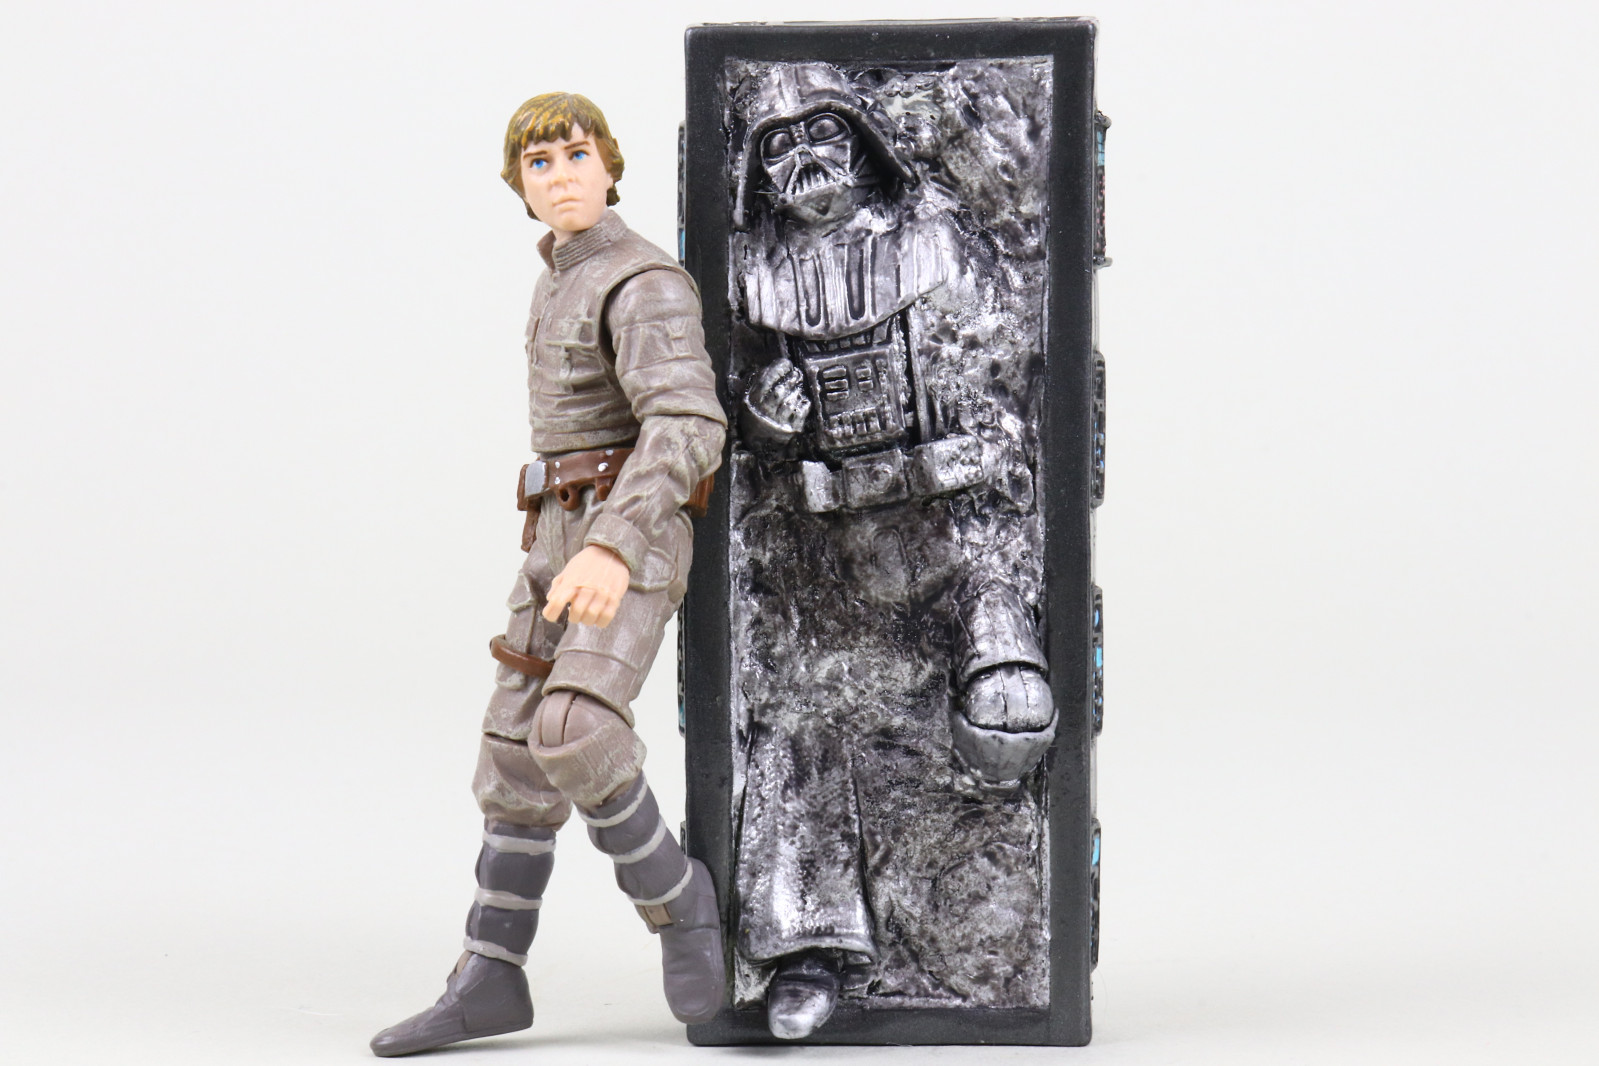
10) Mock the doofus who got got himself frozen.
(click for the full sized image)
Thank you to Ben for this awesome custom. If you watch me on any of the livestreams, you will notice this Vader in Carbonite over my left shoulder. I have it leaning up against my Carbon Freezing Chamber display as a "what if" Luke won the duel.
Let me know in the comments if you'll be at Red Five on Saturday.
Finally, here are some additional photos:
(click for the full sized image)
Luke wins!
Luke wins!
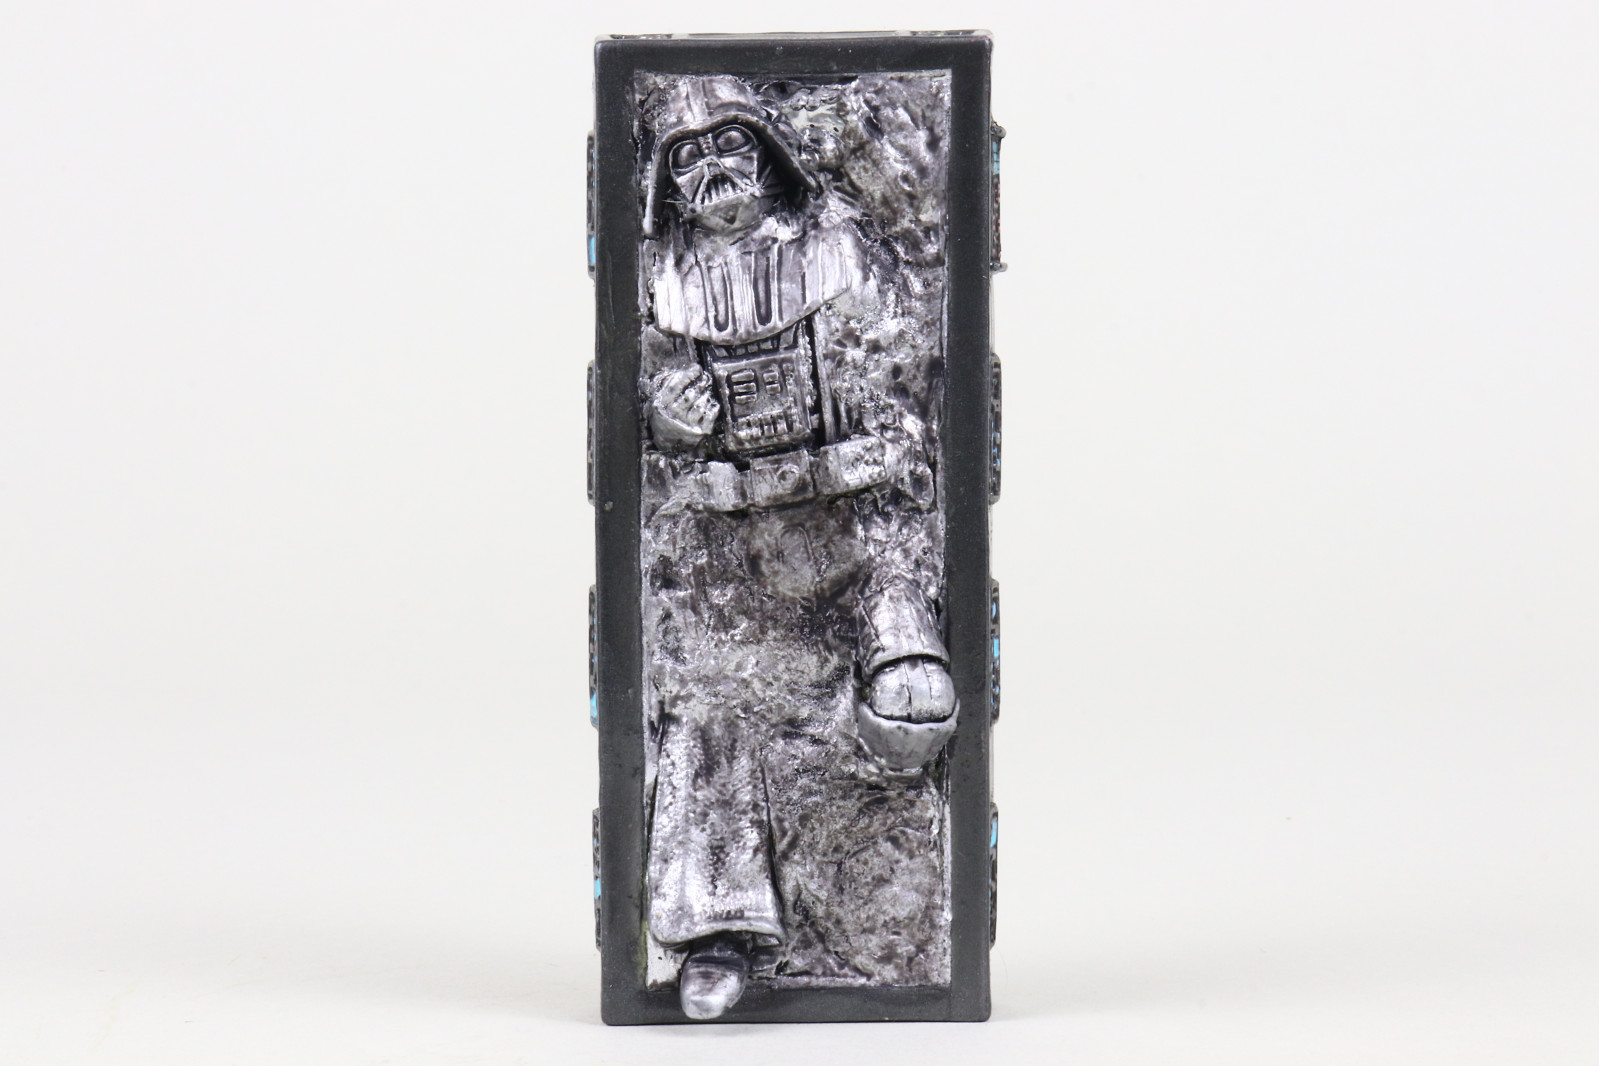
(click for the full sized image)
(click for the full sized image)
(click for the full sized image)
(click for the full sized image)
comments powered by Disqus
LATEST PHOTO GALLERIES
VC394 - Imperial Snowtrooper Commander

VC - Obi-Wan Kenobi (Utapau) & Airborne Clone Trooper (212th Battalion)
VC392 - General Veers (AT-AT Commander)
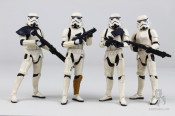
VC - Imperial Remnant Stormtrooper
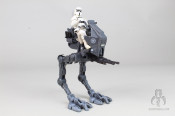
VC - Imperial Remnant AT-RT
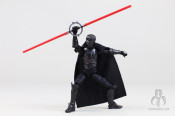
VC386 - Marrok
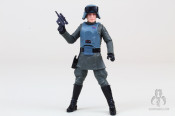
VC387 - Imperial Remnant AT-AT Driver
VC388 - IG-11 (Nevarro Marshal)

VC389 - Imperial Remnant Snowtrooper
VC393 - Greedo

ADDITIONAL REVIEWS IN THE
PHOTO GALLERIES
PHOTO GALLERIES