Revenge of the Sith

Chancellor Palpatine


Okay, gloves are off. My 1 game attempt at good sportsmanship towards Mr. Chris is officially over. Eff Tatum and the Celtics. Back to business on Saturday at The Garden.
Banthaskull’s wild global celebration of ROTS20 continues!
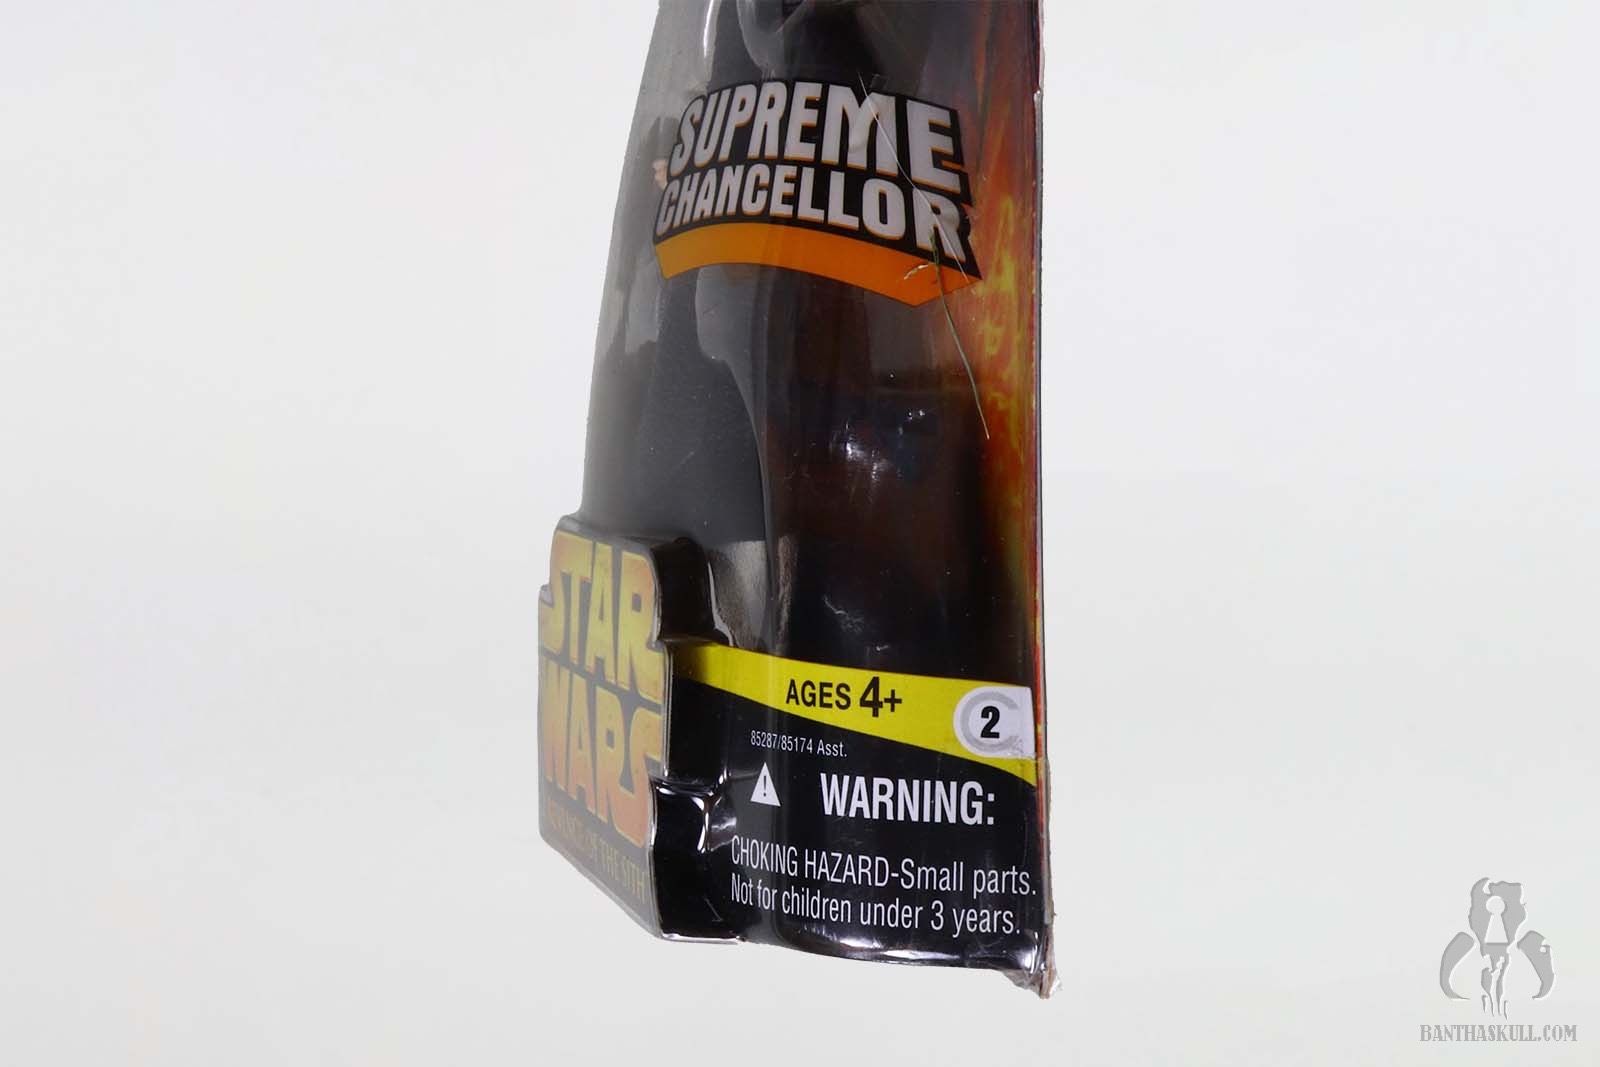
Next up is Chancellor Palpatine. Yesterday, we looked at the Emperor Palpatine figure, and now we see the character in one of his Chancellor Outfits. This one is from when he was taken prisoner aboard the Invisible Hand. Interestingly, the heroes didn’t have much difficulty locating the ship, so it really wasn’t very good at being invisible. It probably took a lesson from Mrs. BJ Smegma on how not to be seen.
We jump right into the action in ROTS, with recent events leading up to Palpatine’s capture being explained in the opening crawl. This was less jarring if you watched the Tartakovsky cartoons, but it was enough to set the table - a far cry from what we got with the TFA crawl which gave scant information and then threw you into a galactic situation that made little sense.
The figure is based on the outfit Palpatine was wearing throughout the Invisible Hand sequence. At first, he is secured to a throne of sorts, surrounded by droids, and watched by Dooku. Anakin and Obi-Wan burst into the room, and begin fighting Dooku - who again makes short work of Obi-Wan. Anakin wins, and lops off a bunch of body parts. We get some glimpses of Darth Sidious in Ian McDairmid’s portrayal of the moment, but for the sake of the participants, he’s still just the Chancellor. Anakin frees Palpatine, grabs Obi-Wan, and they try to make it out. Hijinks ensue, Obi-Wan wakes up, and the trio unite with R2-D2, only to be quickly captured. At this point, the three are put in wrist binders, and led to Grievous on the bridge.
After some chaos created by R2, the group fights off their captors while mustache-twirling Grievous escapes like a punk. Palpatine is cut from his binders, and eventually the Invisible Couple of Fingers makes its way through the atmosphere. During this point, I always found it interesting how McDairmid displays genuine concern. As if he could see all of his carefully laid plans were potentially going to be ruined by dying in this wild crash into Coruscant. Of course, if Leia, with minimal training, could survive the vacuum of space, I assume the most powerful Force user in the Galaxy could have just jumped out the window and landed safely somewhere. But we didn’t know any of that at the time. So Anakin managed to crash land the half-ship into the cityscape, killing 350,000 innocent Coruscanti civilians before finally coming to rest.
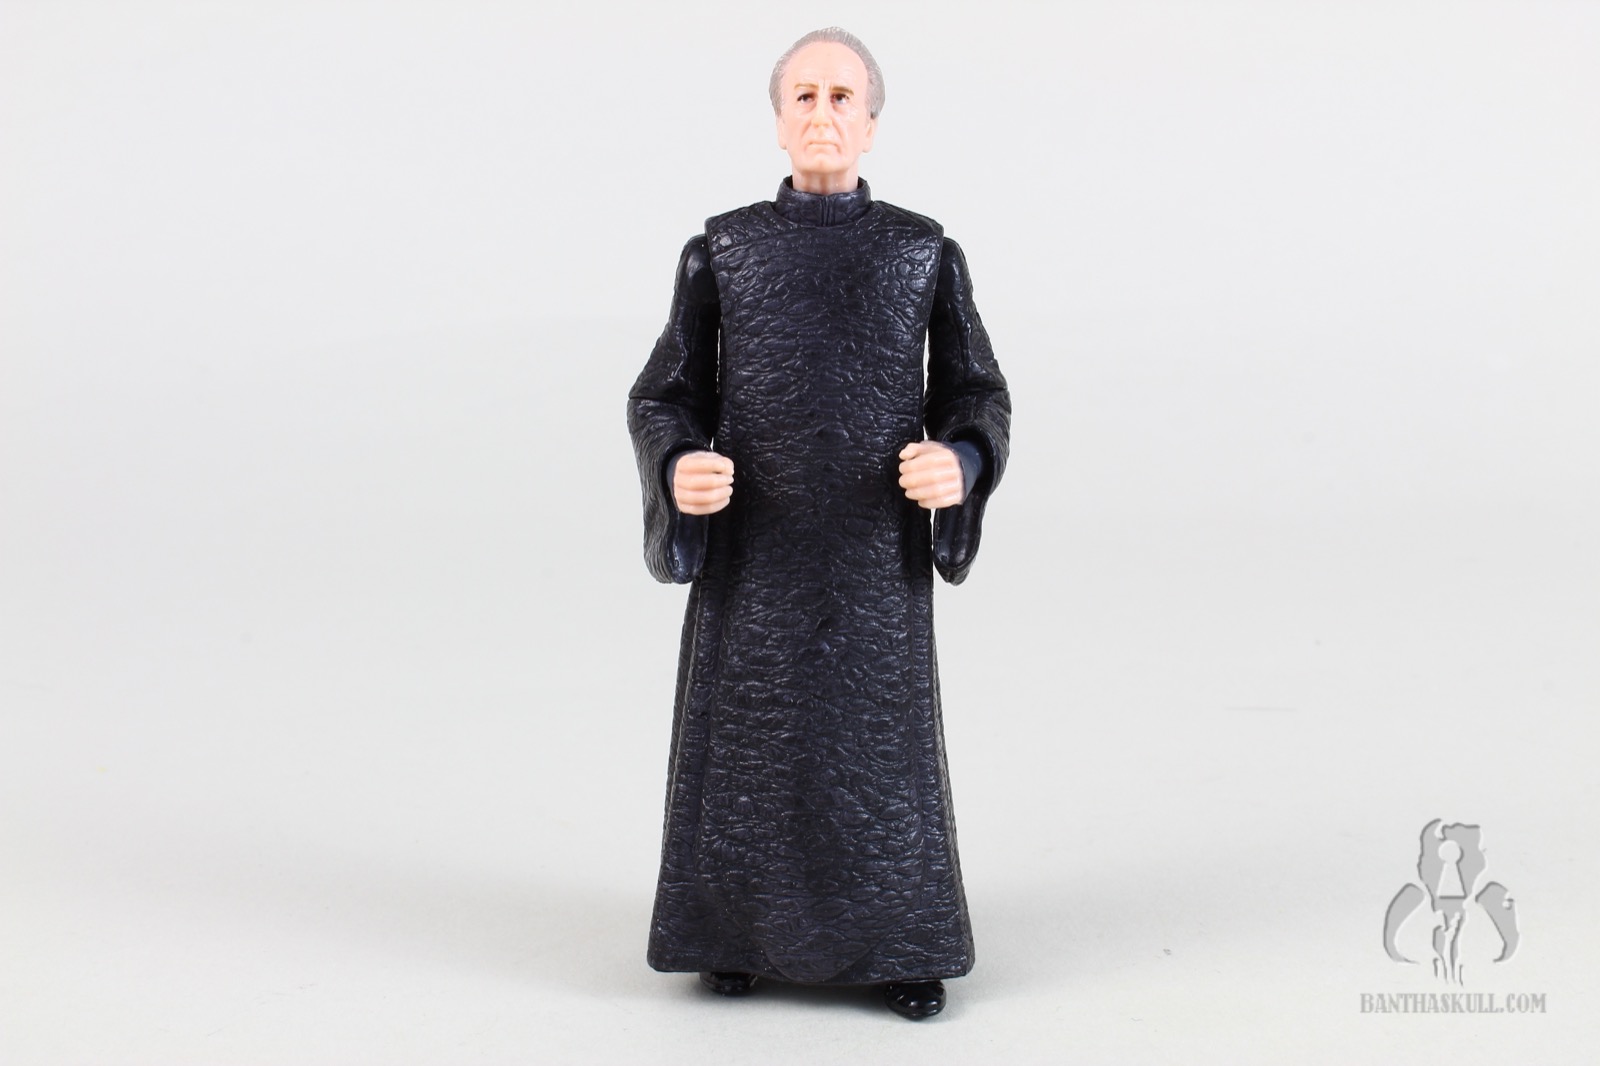
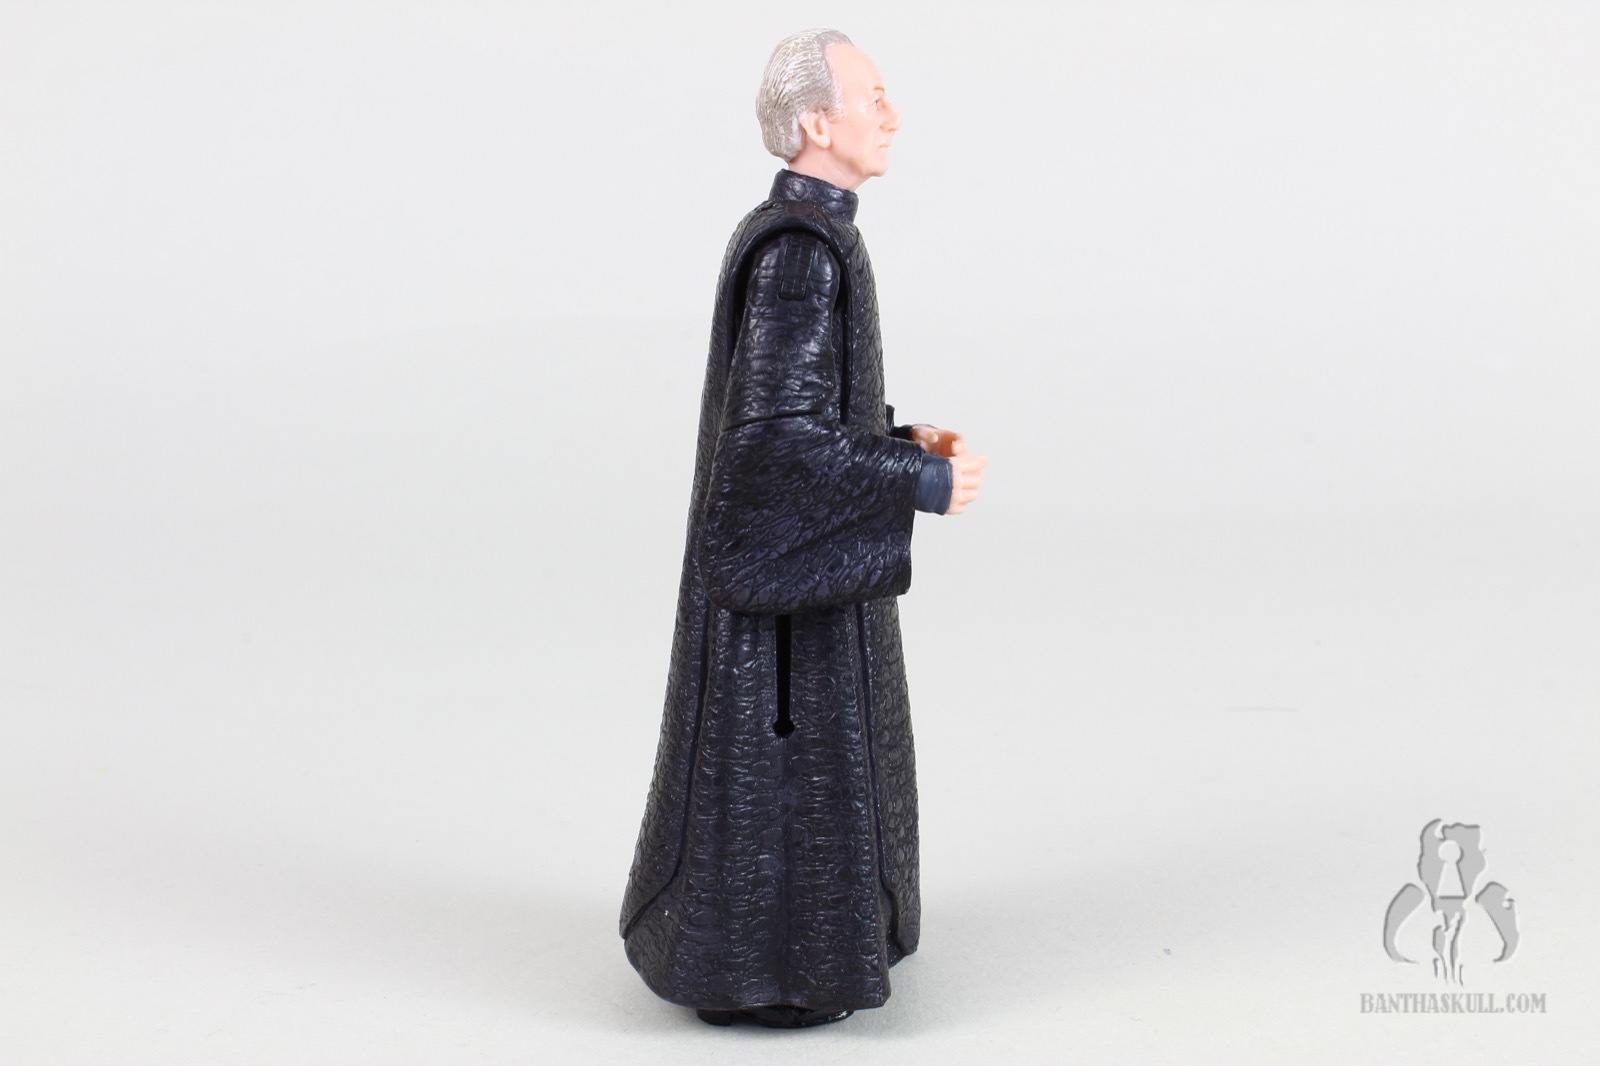
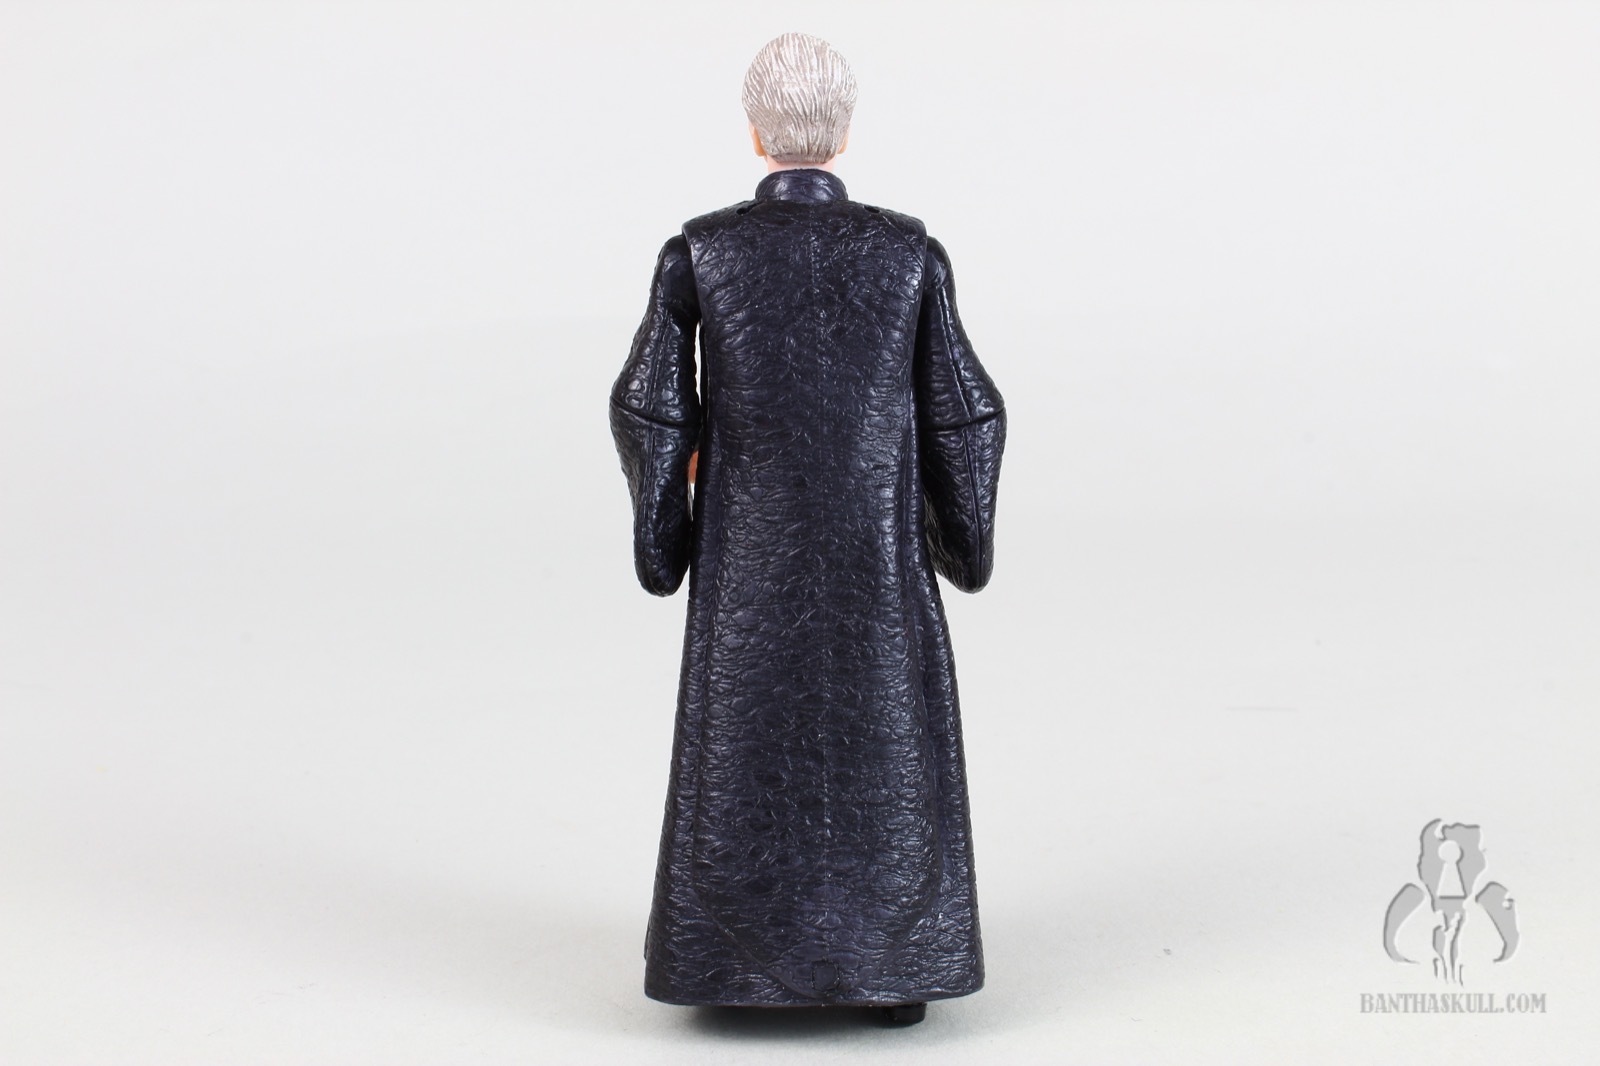
All that is to say the figure is underwhelming, but not terrible for what it is. It’s a nice sculpt, with a decent facial likeness. The outfit is very simple, with no paint details necessary, but some excellent texturing. Articulation is limited, with swivel neck, ball jointed shoulders, and swivel elbows. The lower body articulation, while present, is rendered useless by the robes. The figure is basically a salt shaker.
The arms have long droopy sleeves, similar in concept to the Emperor figure, and many others over the course of the line. This looks great when the figure is posed at rest, but moving the arms up or down ruins the effect. There is one included accessory, which are the wrist binders. They’re not very well executed. For screen accuracy, Palpatine had his hands clasped behind his back. The figure is awkward looking when trying to do this. Meanwhile, the binders don’t really fit over the wrists. They are supposed to clip shut, but it’s a challenge to accomplish this.
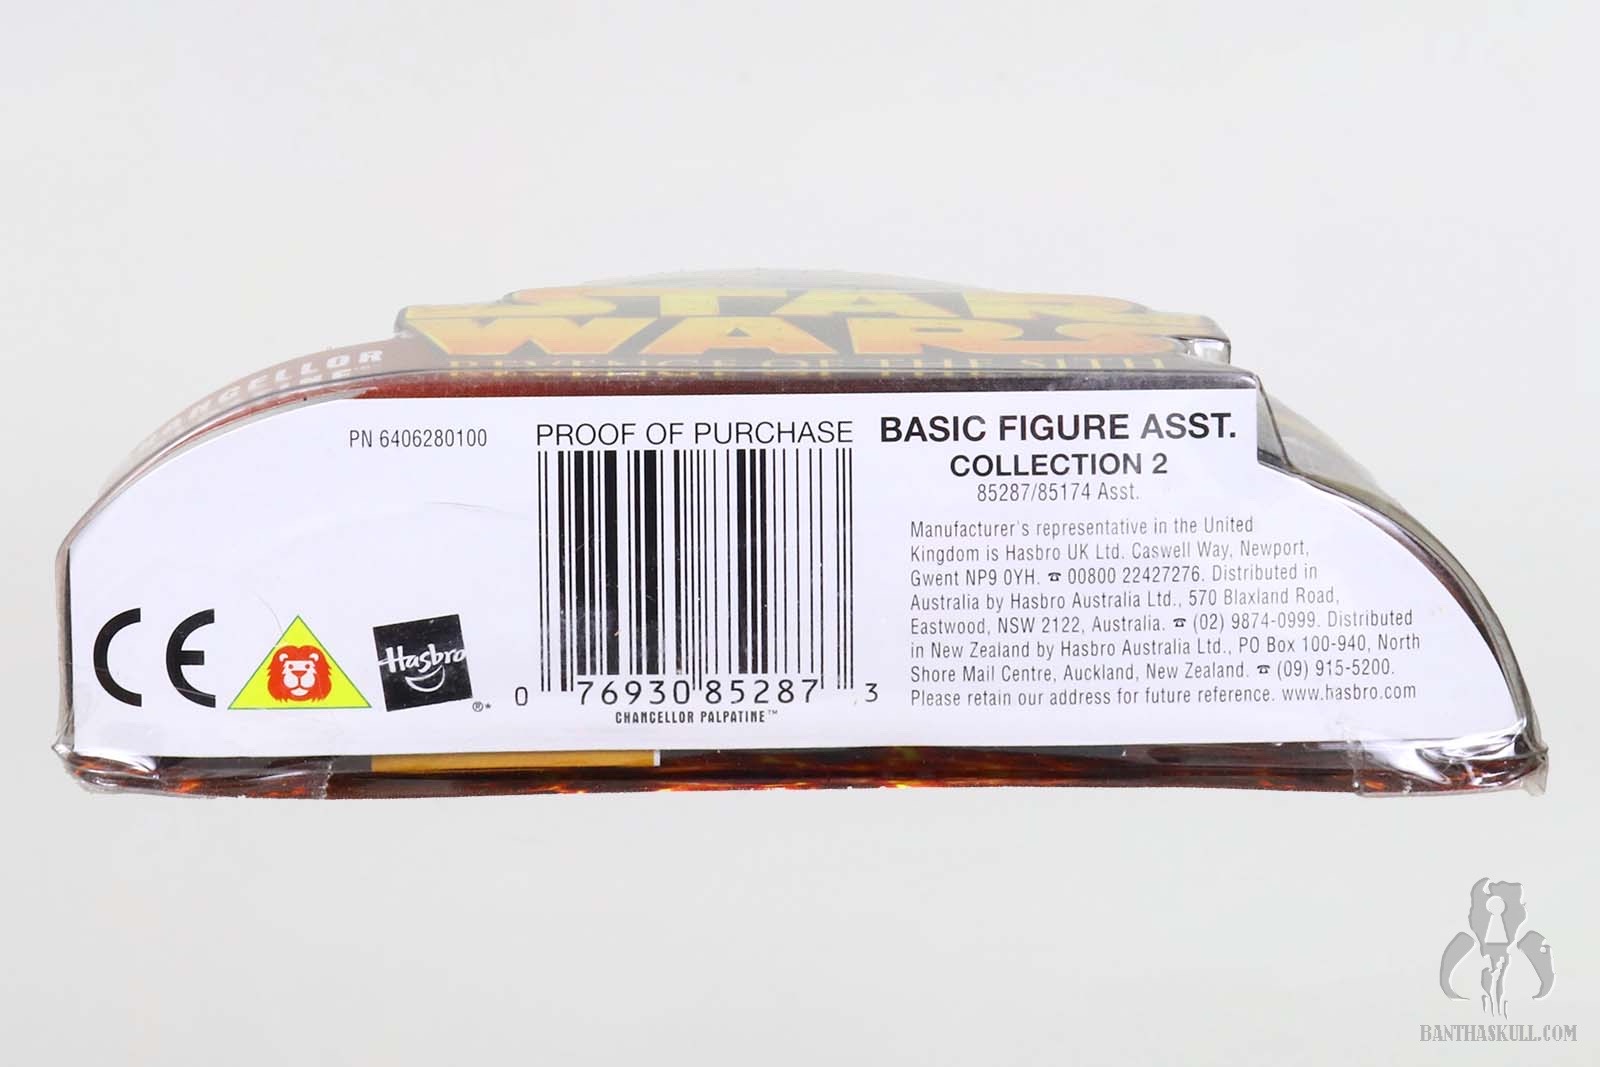
Also included in an environmental stand, which was common, although not guaranteed, to be included with “Collection 2” figures. As has been discussed, the stands are pretty decent, but at the same time, wildly frustrating because they look as if they should interlock to build something greater, but they do not.
It’s a nice addition to the line, and I’m glad it exists. The figure hasn’t aged well, but it’s the only one we have in this particular outfit. It works well enough when “just standing there”, but doesn’t provide a lot of posing options. 4/10.